Pages

Showing posts with label Projects. Show all posts

Wednesday, March 16, 2016

Two Single Crochet Stitch Project Ideas

In the previous post (click here to read all about it) I told you that you can make many patterns by using only the single crochet (sc) stitch. I have two recent crochet projects that I made by using the single crochet stitch that I can show you. They're everything but boring, which proves that even the most basic stitch can make amazing crochet patterns.

Socks


What is better than warm socks in winter, especially when you made it yourself?

These socks were made by using purely the single crochet stitch.

These socks were made with a very soft yarn (Caricia Creative, Col 047, Lot 20150501). This is probably not the best yarn to use for socks, but I wanted my husband's feet to drown in warmth, as our floor is ridiculously cold. It succeeded in being cozy even on the coldest of days!

You can easily make socks using one stitch only, but these particular ones do have other stitches, but none you need to worry about just yet.

I started this project from the top and worked my way down. The top is thick (here I didn't use the single crochet stitch, but the puff stitch). Then I have around 5 rows of single crochet stitches before I change a few things to make the heel look like a heel.

To make the heel, I crochet twice into one stitch, twice, at the back (this is called "increase"). I also did this with a double crochet stitch to give some length differences, forming the heel nicely. Follow up this row with a normal sc row. Increase again, Sc the next row normally. It would be a good idea to slowly start decreasing the size until the sock is the right length and size to fit snug. Decrease by skipping a stitch wherever you feel it is necessary.

I closed up the front with a slip stitch and then slip stitched all around to create the impression of a sole.

Placemats


You have guests coming over and you want to impress them? Why not make your own placemats? This will not just look great and be exactly the colour you need, but it will also be an interesting conversation starter.

Placemats are always needed and welcome. Sometimes it's hard to find exactly what you want, but you can always crochet your own with a single crochet stitch.

I started with a chain of 10 and sc a full row. Sc three times around to the other side of the chain. This way your crochet an oval form. Now you will work in the back loops only. Continually crochet around, while crocheting twice into the corners (I usually go by look - see where it curves off too much for the stitch to handle and add another stitch to help it round it off). You will only need to slip stitch at the very end. It looks like it must have taken a long time to make, but it will be your secret of how quick and easy it actually was!

Do you have patterns you have tried to make with single crochet stitches?

Monday, February 1, 2016

How to Handle Large Crochet Projects

In another post (Irish Crochet Throw Degrades into Tablecloth) I told you about the Irish crochet tablecloth I was busy with. This is a blog to help you start a big project like that one. In another post, I will tell you how I made one of these motifs.


Starting a Large Project

Starting a crochet project right is just as important as ending it with a beautifully homemade creation. You can't expect to start with a chain and end up with exactly what you want without proper planning, unless that of course was your plan. I'm not going to go into details about selecting yarn and hooks, if you want more info on this subject, look at this blog post.

Draw it out

I started with drawing my idea on a normal A4 paper. You can go into great detail if you want by drawing your motifs, or you can keep it simple by using rough forms. I looked around on the internet for some inspiration and ideas. Often the internet will help me decide how to get the look I have in my head.

Cut it out

This part I find really fun. When I was still planning on making a throw, I cut up any papers I could find and placed them where I wanted the actual motifs to go. Each paper circle got a letter on it, which corresponded with a paper I had, telling me which motif will go in that space.

After I placed them as I wanted them, I start making the motifs. Often I will make changes to the motifs I had planned in my head to fit the pattern, or I will change the pattern for the sake of the motif I really like. Go with it.

Put it Together

This is a personal matter between you and your crochet project. You will have to decide how you want your project linking together. Do you want mesh? Do you want a thick, bulky lining? Do you want a nicely hidden stitch?

Mesh

Mesh is open work that you use to put your crochet motifs together. It will look like a spiderweb between motifs, and can look great in a design. Below is an example of mesh. The small balls are pivots and are not a must. There are also plenty of ways to design mesh, so make sure to do research first!


Bulky Lining

This is what I used for the tablecloth. I created the bulkiness by using single crochet stitches to stitch the two motifs together. In the image below, you can see the bulky lining used in the middle of the combined motifs, whereas the motifs on the outside are combined using hidden stitches. It all depends on what you have in mind.


Hidden Stitch

A hidden stitch can be accomplished with the old fashioned needle - work your motifs together like you would work two pieces of material together with needle and thread, but obviously use your large eye needle and your chosen yarn.

End Result


I find it helpful to take a break from my work (if I have enough time) to give my mind a chance to process the crochet pattern I have worked on. This will allow me to notice and change anything that I might not be comfortable with; something I might not have noticed if I plunged right in.

By thinking of the smaller details beforehand, you can save yourself a lot of time, thinking and struggling once you near the end of your project. Just keep focused and plan it out in any way you feel comfortable with.

Just remember: Planning a pattern does not mean it is now set in stone. You can always change something if your artistic heart calls for it. At the end of the day planning can let you down, but following your heart mostly pays off!

Thursday, October 1, 2015

Handmade Gift: My Grandmother's Birthday Necklace


I have never been good at remembering birthdays. I almost forgot my own grandmother's birthday! I am blessed to still have my grandmother. This necklace I made with her in mind, and luckily she likes it. Here is what I did and my thinking pattern for those interested.

Take note that I haven't made any jewelry in such a long time, and I was quite worried that I would have forgotten how. It is like riding a bike - I was quickly able to get the hang of it again. I started off by choosing my colours and arranging them as I would like them.


I decided to give it different levels, which I did through the use of crimping beads. I covered the crimping beads up to ensure that it all fits in nicely with the design. I wanted to use ribbon, but decided it wouldn't really enhance the elegant, yet simplistic look - always know what you want and how to get it!

My table soon looked like this:


Quite an organised mess...

In the end, my grandmother was very happy with the necklace and it fitted perfectly with her top she wore on her birthday outing. There is nothing like giving a gift made by hand with love. Next time, try making someone something rather than running to the shop; most people would appreciate the gesture of time and effort.

Feel free to tell us about your own crafts!

Wednesday, September 23, 2015

Free Scarf Crochet Pattern: Mother's Present Completed

The crocheted scarf that had me worried for a moment.

Now that my mother's scarf is finally done, I just need to remember to actually give it to her. This crocheted scarf had me worried in the beginning stages, as it looked a little on the sloppy side. You can read about my experience with it here and here. For those who like the look of this crochet pattern, I will write down the specifics here for you, so you can try it yourself.

The Sloppy Start

In another post, I mention the fact that this particular scarf was looking a tad bit sloppy because I chose the wrong hook size. If I remember right, I had to go under the recommended hook size, which I consider as a little weird - I work tightly naturally.

Luckily, after common sense kicked in, the scarf started to look a lot better and the pattern was a lot more suitable for a light scarf. The colours together with the open work of the pattern, makes this a great crocheted scarf for the summer or in between seasons (but you will need something a lot more cozy for those winter days).

The Free Crochet Pattern

I had to remake this scarf pattern. I got it from somewhere on the net, but I can't find it again. If anyone knows where this pattern came from, please let me know. I need to add a link to their website. For now, be aware that this is not my pattern, but it is at least a free crochet pattern that I found.

Row 1

Make this free crochet pattern as long as you need it to be, as long as you stick to multiples of twelve. Thus chain in multiples of twelve plus an extra one for your next row.
Turn your work.

Row 2

Single crochet (SC) all the way through.
Chain 3.
Turn your work.

Row 3

Skip 2, SC into the 3rd stitch.
Chain 6, skip 5 and SC into the 6th stitch.
Chain 3, skip 2 and SC into the 3rd stitch.
Continue on with this pattern until the end.
Chain 3.
Turn your work.

Row 4

Double crochet (DC) into the 3 stitch gap.
*DC 9 times into the 6 stitch gap.
DC into the next 3 stitch gap.
Chain 2.
DC into the next 3 stitch gap.
Continue from * until the end.
Chain 3.
Turn your work.

Row 5

SC into the 4th stitch of the 9 DC group.
SC into the next stitch.
SC into the next stitch after that.
Chain 3.
(Petal Stitch) - Yarn over, go into the 2 chain gap of the previous row, pull through, yarn over, pull through 2, yarn over and go through the gap again, yarn over, pull through, yarn over, pull through 2, yarn over and pull through 2, yarn over and go through the gap a third and last time, yarn over, pull through, yarn over and pull through 2, yarn over and pull through the last 3.
Chain 3.
Continue from the beginning.
Chain 3.
Turn your work.

Row 6

SC into 3 chain gap.
Chain 3.
*SC into the middle SC of the previous row (of the 3 SC group).
Chain 3.
SC into next 3 chain gap.
Chain 6.
SC into next 3 chain gap.
Chain 3.
Continue from *.
At the end, you need to make sure that you have 3 3-chain gaps. You should end with a 3 chain being SC into the last 3 chain gap of the previous row. After this, chain 3 and SC into the last loop of the previous row, allowing you to have a block-form (otherwise your work's sides will be all over the place) and your 3 3-chain gaps that you need.
Chain 3.
Turn your work.

Row 7

DC 4 times into the first 3 chain gap.
*DC into the next 3 chain gap.
Chain 2.
DC into the next 3 chain gap (see why those 3 3-chains are so important?).
DC 9 times into the 6 chain gap.
Continue from *.
At the end, make sure to DC 5 times into the last 3 chain gap.
Chain 1.
Turn your work.

Row 8

SC into the same stitch.
SC into the next stitch.
Chain 3.
*Make a petal stitch.
Chain 3.
SC into 4th DC of 9 DC group.
SC into middle DC (next one).
SC into next DC.
Chain 3.
Continue from *.
At the end, your last SC will fall on the last DC.
Chain 3.
Turn your work.

Row 9

SC into first 3 chain gap.
*Chain 6.
SC into next 3 chain gap.
Chain 3.
SC into middle SC of the previous row.
Chain 3.
SC into the 3 chain gap.
Continue from *.
Chain 3.
Turn your work.

From here you repeat from row 4 until you have it as wide as you want.


Until next time! Remember to leave a comment.

Sunday, September 6, 2015

Update Time: What I Did

In the past few months, I have been on a discovery of new things. These things can be seen as interesting, rewarding experiences and others as less so. One of these events led me to Irish crochet, so it wasn't all bad. So let me get you all updated.

Irish Crochet

Irish crochet is an amazing way to make things you didn't think you could. Currently (or not-so-current, as I have stopped for a while now), I am busy with two Irish crochet projects. The one project is a small decoration that I decided to make as a learning curve; and the second project is a rather large one: an Irish crochet gown. Rather, I think I could call it a gown. I will post pictures of these as soon as I have space to pack it out.

I am also trying to make a huge Irish crochet project, namely an Irish crochet throw. This project is only in my mind. I have found a pattern I would like to try and the wool. As with all creative projects, mine won't look like the pattern's end result, as my wool is a lot thinner. I am still excited to give this project a try and I will keep you updated once I start with it (once I have my table back).

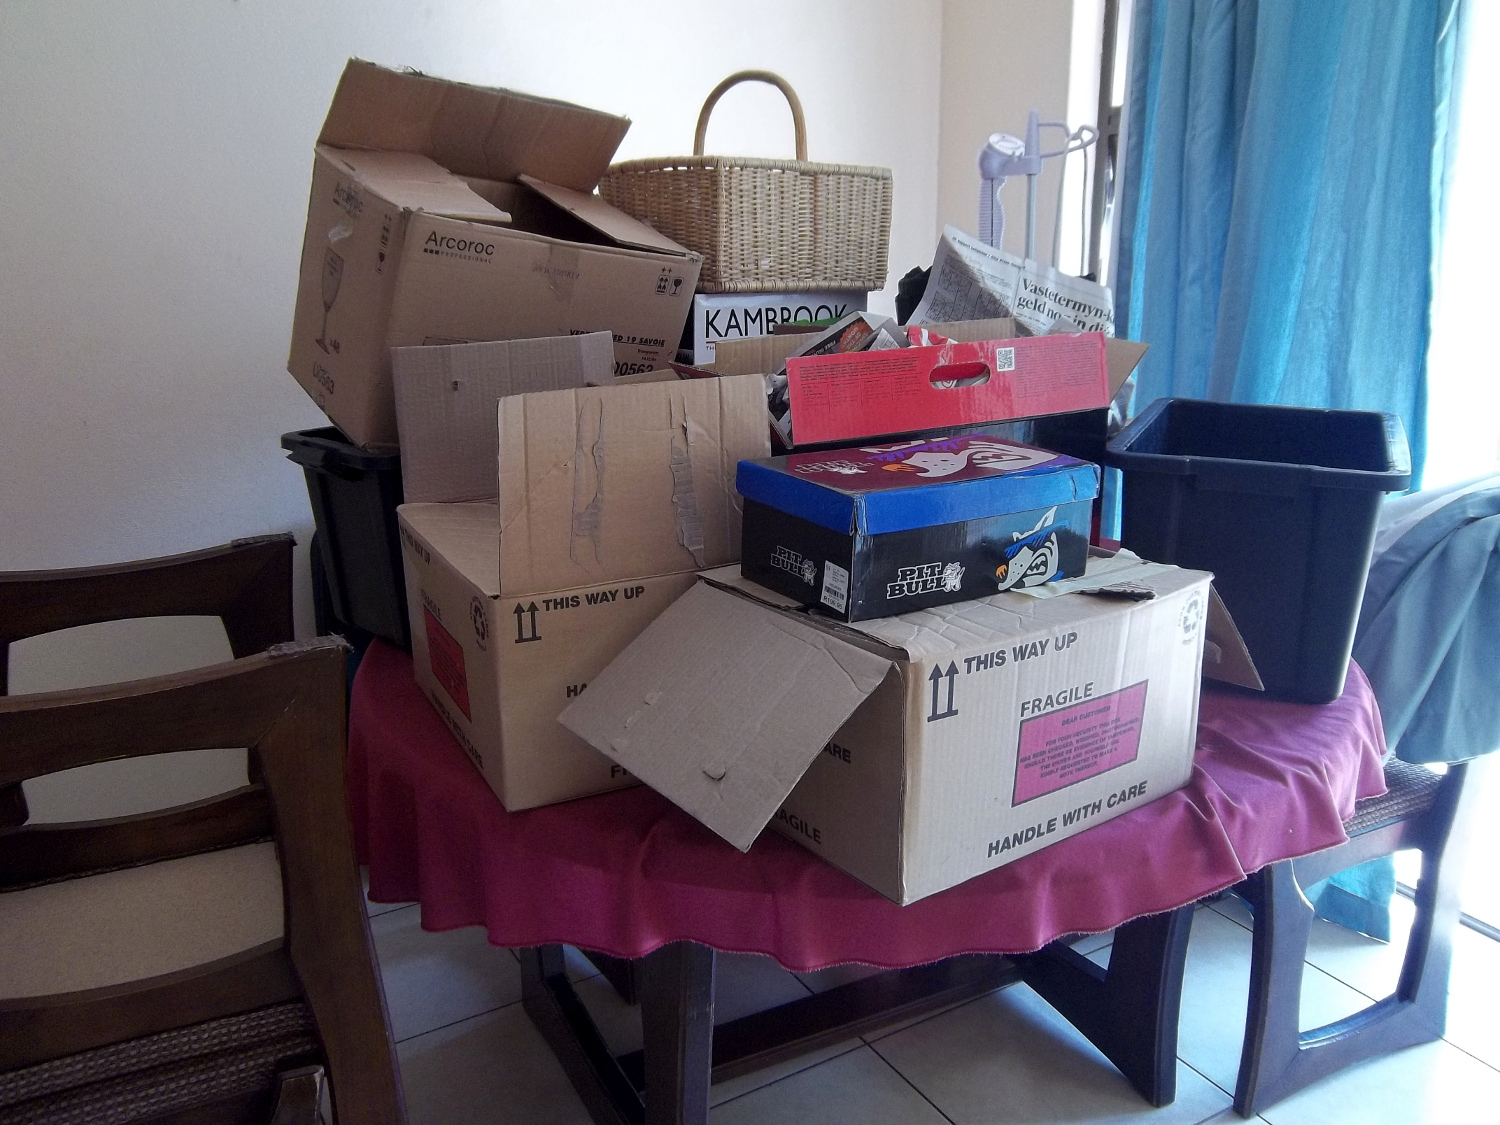
My parents gave me this amazing table; perfect for Irish crochet projects, but as you can see, it's useful for other reasons too...

My Mother's Birthday Scarf

I can say that I am, after months of only practising Irish crochet, finally busy with something else, too. It feels good to return to plain crochet after so long!

My first project after the Irish crochet is a scarf for my mother's birthday (about time, as her birthday was a few months ago...) and it is not going exactly as planned. Here is a photo of the half-finished job.


My mother wants the scarf done in the same crochet pattern as I used for this tablecloth. Problem is that this particular pattern was one I found on the internet. I have no idea where it is. I have been trying to remake it, but with this particular wool, the pattern isn't looking as beautiful to me as it does on the tablecloth.

Update: I have changed the hook size and I am a lot happier with it now. Read here about the importance of hook sizes. 

And So...

Work is going slow, as I recently moved again. This time, I am living in one of the loudest places I have ever lived. Isn't apartment life great? I mean, where else do you get to pay a fortune for a box where you actually get to do nothing but stress and complain about lack of sleep and many other necessary things?

Only last night the police were called out to the apartment block next to us, as it sounded like someone was getting murdered in the parking lot for about half an hour. The police ended up going on a high speed chase, while everyone else was just standing on balconies watching everything play out.

I will rather continue another day before I go into a rant. Enjoy your day and don't forget to comment (especially about your apartment life story)!